|
Introduction Background: How I Found My Marbles Seeing the Inconspicuous: Tips Some Images of Glass Marbles: Do You See What I See? Creating Your Own Images In-conclusion Introduction When I look at close-up scans that I have taken of glass marbles, I see beings. Some are human-like; others are not. Sometimes they are alone. In other cases, they are in groups within a scene like one would see in a photograph. Occasionally, I see isolated inanimate objects as well (e.g. a bottle or an automobile). Some beings and scenes appear to be from the past; others are futuristic. These beings and objects are of various sizes. Usually, they are overlapping and transparent. Images that I have cropped from these scans admit different interpretations, like an optical illusion. They can be extremely complex. I enjoy looking at these images. I find them to be very interesting; fascinating. These things that I see within images of glass marbles are inconspicuous, especially under normal viewing conditions. In order to see them more clearly, I use special techniques. My primary objective in writing this article is to describe my methods so you might derive as much pleasure from these images as I do. At the same time, I would like to provide detailed information for investigators who seek to explain the nature of the phenomenon considered here. I shall do the following:
Background: How I Found My Marbles My wife, who has always been interested in photography, began collecting old photographs. From time to time, she would ask for my opinion about some of the photos she was considering for purchase. In the process, I soon developed an interest in such photos myself. One day (in the fall of 2005), while reviewing a collection of photos that a particular dealer was selling online, I noticed something unusual near the bottom of the following photo: |
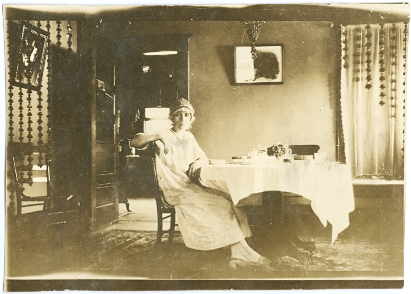
Photo 1 (100 dpi)
|
Just to the right of the woman's feet, in front of the table leg, I saw what appeared to be a small superimposed image that was unrelated to the photo. I had used Adobe Acrobat to create a PDF file of the web page on which the photo had been listed for sale. (I did this for all photos, so I could view photos being offered for sale offline.) In order to get a closer look at this photo, I used various zoom magnifications when viewing the PDF file with Acrobat Reader. Here is an example of the images I was viewing at the time (Note: To create this image, I displayed the PDF file in Acrobat Reader using a magnification of 175%. The resulting image was captured and cropped using IrfanView 4.10.): |
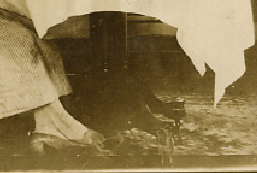
Photo 1 as Seen in a PDF File
|
To me, the superimposed image looked like a cowboy. I directed my wife's attention to this. She could see him as well. It was a bit scary. Although the photograph was interesting to us, we decided against buying it because it made us feel a bit uneasy. We could not understand why this small creature was in the photo. We thought it might be haunted. We were not sure if we wanted something such as this in our home. After more thought, the next day I proposed that we get it. With the photo in hand, I made some high resolution scans. Here is a scan of the region in question. From left to right, it runs from the toe of the woman's right shoe to the table leg. |

Excerpt from Photo 1 (1200 dpi)
|
The image at the right side of this excerpt is what I had taken to be a cowboy. In this close-up scan, I no longer see it that way. Still, it appears to be some type of image that is superimposed on the photo. To me, what was the body of my "cowboy" now looks like a wooden door that is open. Immediately to the left of this, I see many figures, some of which are wearing cowboy hats (near the top of the door). In the center of the excerpt, I see a seated woman looking to her right, directly at us. In the toe of the woman's shoe, I see many overlapping faces. Throughout this image, I see inconspicuous images. After noticing the superimposed image in this photograph, I began to examine photos that I considered for purchase more carefully to see if they contained similar inconspicuous images. I found many examples of such things, especially in extremely old photographs. Based on my findings, I created a collection of digital images cropped from scans of photographs we had collected. I published these images as Blueprints for Music: Series 3. I thought the resulting images were quite interesting. I felt that at some time in the future, I might create another series of images of this type. However, in the near term I moved on to other projects. Specifically, I picked up where I had left off with the process of composing a musical work titled Platonic Dice: Octahedron. In the process of doing this, I wrote The Ird-Ook Book. This led to the creation of some poems (see: 24 + 16: A Collection of Abstract Poems). To write these poems, I needed colored balls that I would use to make various decisions. For this, I chose to use marbles, of which I had none. My wife told me of an antique store in our area that had a large collection of marbles for sale at a reasonable price. We went there. I found the marbles to be quite beautiful. While looking at one that was white with a blood-red swirl and some areas of transparency, I thought it might be interesting to take a close-up scan of it. Later, after returning home with the small collection of marbles I had purchased, I noticed some clear marbles that contained imperfections such as bubbles. Again, I thought it might be interesting to scan that. And, at the same time, I gradually began to get the idea that in doing so, I might see something like the inconspicuous images I had seen in the photographs. As it turned out, my hunch was correct. I have published a series of images cropped from images of glass marbles (see: Blueprints for Music: Series 4). All of these contain inconspicuous images. As of July 7, 2008, there are 347 images in the series. I plan to add more images over time. Seeing the Inconspicuous: Tips It can be difficult to see inconspicuous images within the images of glass marbles I have created for Blueprints for Music: Series 4. Here are some tips that might help you see them. (Note: Some of the techniques I describe here are the same as those that one might use when scrying with a crystal ball or mirror.)
Some Images of Glass Marbles: Do You See What I See? I have selected 11 images from Blueprints for Music: Series 4. All were cropped from close-up scans of glass marbles. Each contains inconspicuous images. I selected these randomly from the first 236 images that I published in this series.2 When you press and hold down the left mouse button over any of these images, a marked-up version of the image will be superimposed over the original image. The marked-up version contains red rectangles that direct your attention to some inconspicuous images within the image. Below each image, there is a brief description of inconspicuous images that I see within these rectangles. (Note: There are many more inconspicuous images beyond those cited here.) To return to the original version of the image, release the mouse button. You may make the marked-up version persist after you release the mouse button, if you wish. To do this, place the mouse cursor on the image, press and hold the left mouse button, move the mouse cursor (by at least a few pixels), and release the mouse button; later, click the image to return to the original version. It will probably be difficult for you to see most of the inconspicuous images presented here under normal viewing conditions. To see the images more easily, try reducing the amount of light in the room. (For more help, see the previous section: Seeing the Inconspicuous: Tips.) Many of the inconspicuous images cited here are relatively small; to make them larger, you may wish to reduce your screen resolution. For example, try a resolution of 640 by 480 pixels, if possible. To get a clearer view, you could download these images to your computer and open them in an image editor (such as IrfanView) that will enable you to view each image alone on a full screen against a black background. (Note: To download an image, right click on the image and select "Save Picture As" or "Save Image As".) You may download the marked-up versions of the images as well. They are located in the directory http://www.johnpaulandbertha.org/wbjp/visart/bfm/s4/oiiwiogm and are named image01m.png, image02m.png, etc. |
![]()
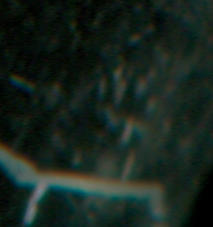
Image 1
Right: portrait of woman with hat looking forward
Middle: head shot of man with hat looking forward
Left: head shot of man looking right
![]()

Image 2
Right: head shot of man looking slightly left
Left: portrait of man with hat looking slightly right
Middle: head shot of man looking forward
![]()
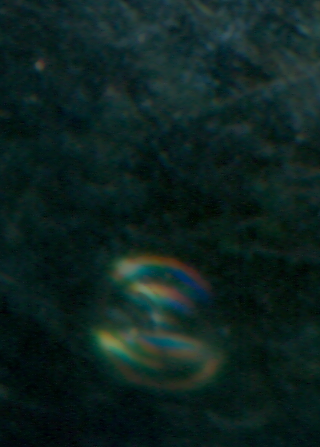
Image 3
Bottom: portrait of man looking slightly right
Middle: head shot of man looking forward
Top: portrait of woman looking right
![]()
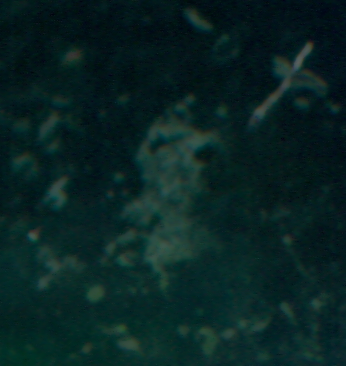
Image 4
Right: portrait of woman looking far left
Middle: head shot of woman looking down and right
Left: head shot of man with hat and beard looking right
![]()
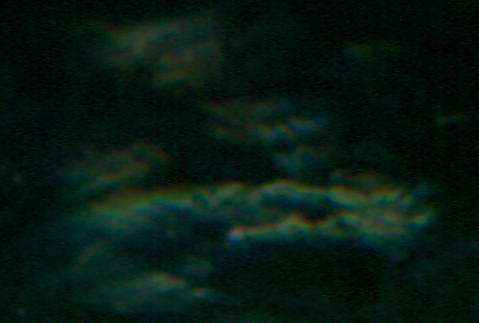
Image 5
Portrait of young man (on left) and woman (on right);
man looking slightly right;
woman with hat, holding baby, looking far left
![]()

Image 6
Right: three-quarter portrait of man looking far left
Middle: head shot of young man looking slightly right;
(foreground, center) three-quarter portrait of woman with dark hair looking right
Left: head shot of young man looking slightly left
![]()
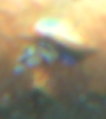
Image 7
Three-quarter portrait of woman (on left) and young girl (on right);
woman with blue hat looking slightly down and right;
girl looking forward
![]()
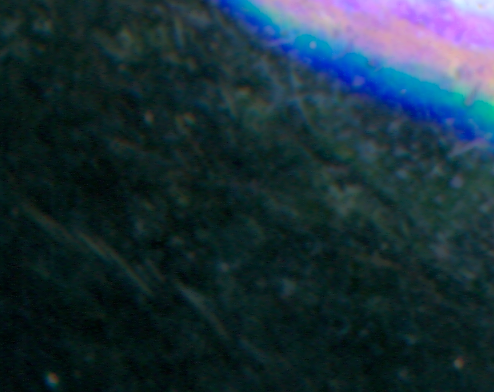
Image 8
Left: full body portrait of man with robe and cross on chest looking right;
(background, top right corner) portrait of man looking slightly right
Right: portrait of man looking slightly right
![]()
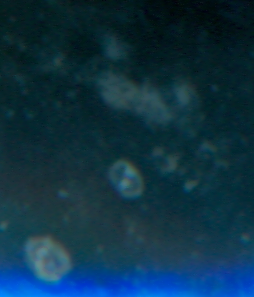
Image 9
Left: head shot of woman looking forward;
(bottom right corner) head shot of girl looking slightly left
Right: portrait of man with hat looking slightly left;
![]()
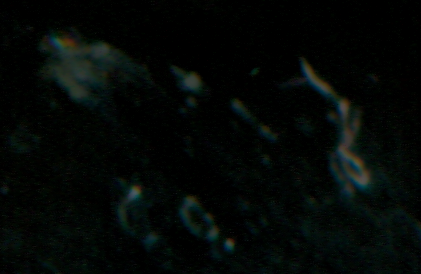
Image 10
Left: head shot of man looking slightly left
Right: portrait of man with hat looking slightly right
![]()

Image 11
Head shot of woman looking slightly left
|
These images were selected randomly from Blueprints for Music: Series 4. Generally speaking, they are representative of images in the series. Specifically, they are indicative of the degree to which the inconspicuous images are inconspicuous. There are many images in Blueprints for Music: Series 4 for which the inconspicuous images are more readily seen than those in Images 1 through 11. Here are 13 more images I have selected (not randomly) from the series. I chose these particular images because I believe it will be easier for you to see inconspicuous images therein. Do you see anything in these images? (Note: I have not provided a marked-up version for these; so you cannot click them to display red rectangles.) |
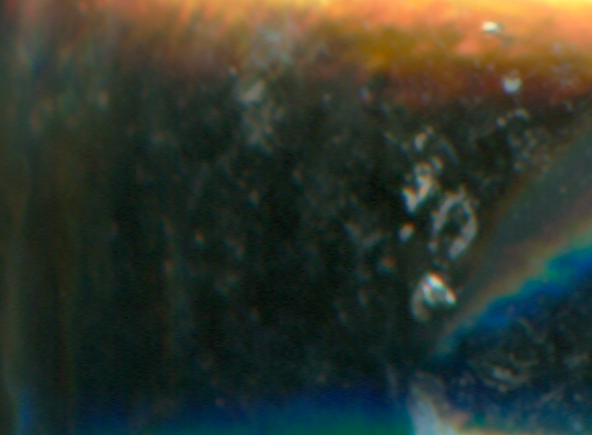
Image 12
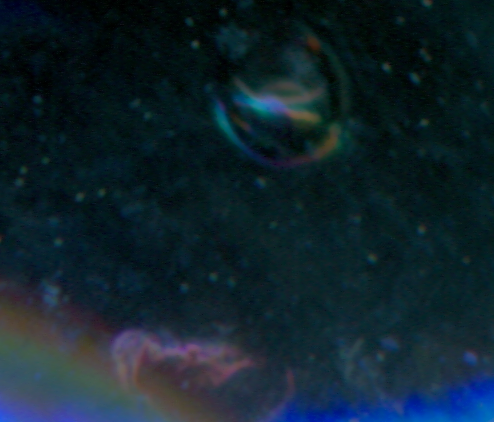
Image 13
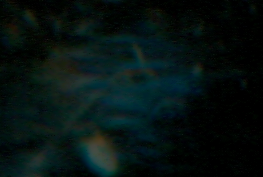
Image 14
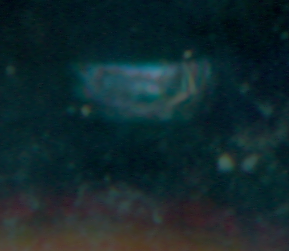
Image 15
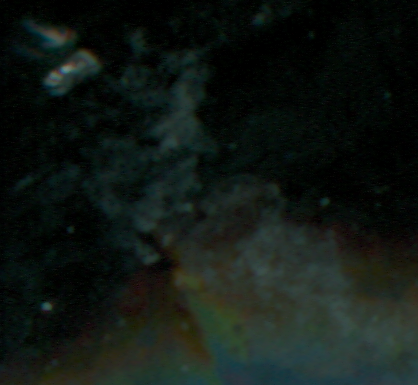
Image 16
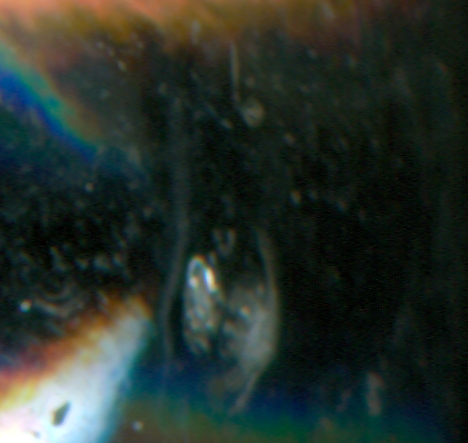
Image 17
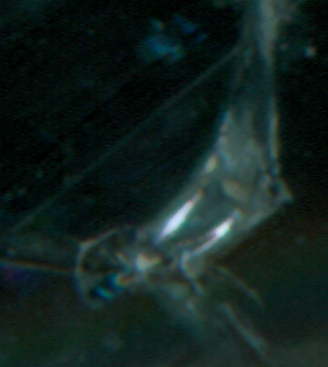
Image 18
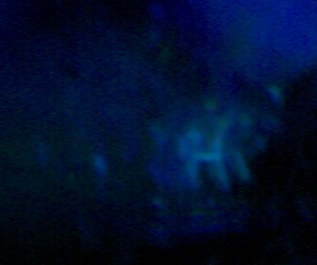
Image 19
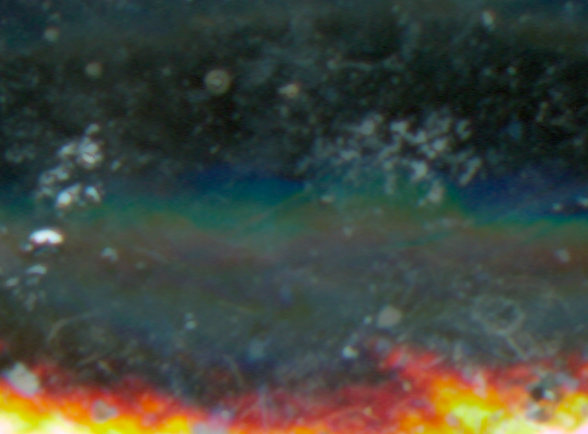
Image 20
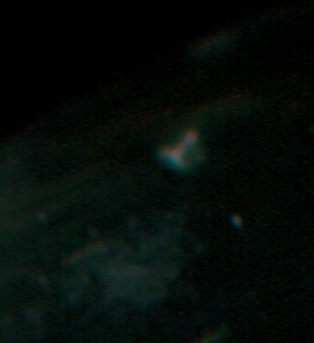
Image 21
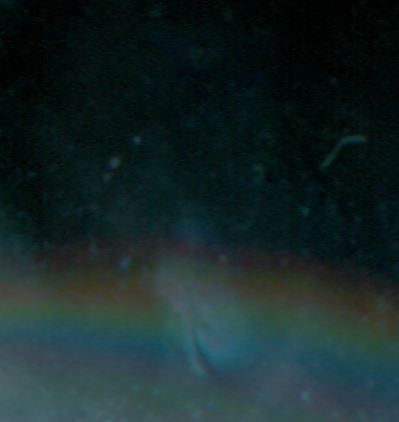
Image 22
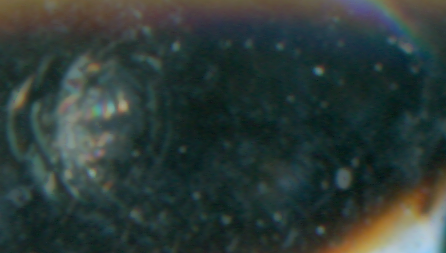
Image 23
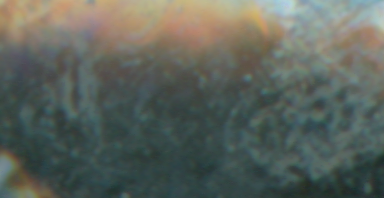
Image 24
|
For more images of this type, see Blueprints for Music: Series 4. Creating Your Own Images If you would like to create images like those I have described here, you will need to obtain some glass marbles. (I now have over 1000 marbles in my collection.) I have used a variety of marbles for this purpose. Each type of marble will yield a different type of image. So far, for the most part, I have used marbles that are both transparent and reflective. The images of such marbles have been of greatest interest to me. Marbles that contain cracks or bubbles have yielded interesting results as well. (Note: You may wish to clean your marbles; ones I have purchased have been quite dirty. I soaked mine in dish detergent. Then I gently cleaned each one with a toothbrush and set it on a paper towel. I dried them individually with a dish towel.) To facilitate the process of selecting a particular marble for scanning, I have partitioned my collection into the following categories:
When sorting, I place the marbles on a table top that is covered with white paper. I put a lamp (with a soft white, 100-watt incandescent bulb) on the table and remove the lamp shade. Except for this single source of light, the room is relatively dark. These conditions enable me to see the characteristics of the marbles more clearly. After partitioning marbles into categories, I rub them clean with a cloth and place them in reclosable snack bags for storage. To scan a marble, one may use any scanner that is capable of scanning 3-dimensional objects. It has been my experience that scanners that use a contact image sensor (CIS) do not work as well (for my purposes) as those that use a charge-coupled device (CCD) sensor. Images that I have generated with a CIS-based scanner are relatively blurry. I am currently using an HP Scanjet G4050 (which is CCD-based) to make my images. (Note: By design, the glass surface of this HP scanner is tilted slightly toward the front. To prevent marbles from rolling, I have leveled the glass by placing a thin shim under the front two feet.) There are many ways one could scan a marble. Each approach will yield a different result. Here is what I usually do. First, I select a particular marble to be scanned. For this, I choose a particular category of marble. Then I view some or all such marbles in my collection under a lamp, as I do when sorting. I look at the degree to which each marble is transparent and reflective. I look for any special features (e.g. bubbles, cracks, out-of-roundness, etc.). Using my experience with other marbles I have scanned, I select a marble that I believe will yield interesting results. After I have selected a marble, I open the scanner lid more than 90 degrees. I clean dust from the scanner glass with a cloth. I use the same cloth to rub dust from the selected marble. Then I (gently) place the marble on the glass of the scanner. I turn off all lights in the room. I leave the door to the room open so a small amount of light comes in from the hallway. At this point, the main source of light in the room is my CRT monitor, which is not directed at the scanner. (Note: I scan marbles long after sundown in a rural location that is far from city lights.) I use the scanning software that was distributed with the HP scanner. I use a resolution of 4800 ppi and an output type of "Millions of Colors". (Note: The maximum optical scanning resolution of the HP G4050 scanner is 4800 dpi.) I use a quality setting of 8-bit, 3 color. I set the scanning program to automatically save the results as a PNG file.3 I do not apply any special processing to the scanned images. For example, I do not use any of the following functions: auto correct, resize, sharpen, lighten/darken, color adjustment or descreen. I create cropped images in a dark room; it is easier for me to see inconspicuous images under these conditions. To crop an image from a raw scan, I use the software program IrfanView 4.10, by Irfan Skiljan. After I have cropped an image, I view the result in full-screen mode, against a black background (in IrfanView). I do not perform any operations (e.g. enhance colors, sharpen, etc.) on the scanned image, other than crop. I save the cropped image as a PNG file; I use PNG files instead of JPG files to avoid any distortion that might be introduced by the lossy process of compression associated with JPG files. I use the software program OptiPNG 0.5.2, by Cosmin Truta, to reduce the size of PNG files created by IrfanView. (Note: The images represented by the files created by OptiPNG are visually identical to those created by IrfanView.) This is the approach I have used thus far. You might wish to experiment and do things quite differently to obtain results that are of interest to you. In-conclusion In images of glass marbles, I see inconspicuous images of beings, objects and scenes. Are these images a product of my imagination? Or are they images of things that exist in the Universe, outside my mind, which I am able to see with the help of a marble (serving as a lens) and a digital scanner (serving as a camera)?4 For centuries, various people have claimed to be able to see things such as these in crystal balls or other reflective surfaces such as a mirror, or a thumbnail coated with dark oil. (Note: I have noticed many inconspicuous images such as these in close-up scans of found photographs of a reflective surface, such as a polished table top or the hood of a car.) In what is called crystal gazing or scrying, such visions are used to attempt to predict the future. Perhaps the images I have created are just "photographs" of the kinds of things some individuals are able to see with the unaided eye. Some might explain this phenomenon as a form of visual illusion whereby one sees things such as faces in abstract patterns, like the Man in the Moon. This type of illusion is discussed in Simulacra: It's All in the Eye of the Beholder!, by Laurie Eddie. Furthermore, what I have described here as overlapping, transparent inconspicuous images might be a type of optical illusion whereby one may interpret a given image in more than one way, as with the Young Girl-Old Woman illusion. Some of what I see in these images is similar to what I have seen in old examples of spirit photography. In these, there is an oval region embedded in the photograph that contains the image of someone who was not visible when the photo was taken. Some believe that, in some cases, the photographer has created such effects by projecting an image onto the film, directly from their mind. Am I projecting images from my mind, directly into the scanner, perhaps through the glass marble? It is believed we can see stars that are thousands of light years away with our naked eyes. If that is the case, then light is quite persistent. Light from an object, or light reflected off an object, is capable of existing for long durations, and it can travel quite far. Perhaps some of these images I see within images of glass marbles are generated by light that bounced off a subject that was photographed with a flash of light, in the past. Perhaps this light has continued to travel through the Universe. Perhaps some of what I see here is light that was reflected from beings on a distant planet. Are some of these images spirits of humans who have passed away (or are yet to be born)? If so, are these spirits trying to communicate with me? Are they trying to show me something? In some cases, I have observed beings holding orbs of light. It appears they might be trying to illuminate themselves so they will be more visible. I have also seen instances of a being holding a light to illuminate something else, as one would do with a flashlight (e.g. see Image 21). Perhaps they are trying to show me that there is much more to the Universe than I know. Perhaps all these explanations are in play simultaneously, and the degree to which any particular one applies depends upon the inconspicuous image in question. In creating these images, I see myself as a nature photographer. My focus is on art rather than science. I have not developed a taxonomy of the different types of inconspicuous images that I have seen. At times, I have deliberately selected some images over others because they are more ambiguous. My objective is to make images that I believe are interesting. For me, these images are blueprints for music (i.e. images that depict possible designs for music). The fact that they appear to be composed of unrelated, overlapping, ambiguous images that are different in size, style, color and subject matter, and the degree to which they require complex spatial reasoning for their apperception is of greatest interest to me. 1. Thus far, I have viewed these images on a CRT, only. I plan to experiment with printing them using an inkjet printer. I am not sure to what degree the inconspicuous images will be visible in a printed form. I might print them on transparencies; these could be viewed with a light box. For an alternative approach, I have considered making slides. I would project these onto a screen in a dark room. I have also considered making custom reels for a View-Master. 2. The images that were published in Blueprints for Music: Series 4 before June 2, 2008, were sorted by name. Then they were numbered consecutively from 0 through 235. A 10-sided die (numbered 0 through 9) and a 24-sided die (numbered 1 through 24) were each rolled once. The result of rolling the 10-sided die was multiplied by 24. The result of rolling the 24-sided die, minus one, was added to this product to yield a number T in the interval [0,235]. Image number T was selected as the first image to be included here. The dice were rolled again to select the second image. This process was repeated until 11 images had been selected. 3. For the first few scans I made (and used) for Blueprints for Music: Series 4, I experimented with different settings. I saved some of these as JPG files, rather than PNG files. For some, I used a quality setting of 16-bit instead of 8-bit. Also, I made a few scans in daylight with the scanner lid up or down. Gradually, I settled on the settings that are described here. In determining which settings I would use, I chose those that yielded images with greatest clarity. 4. Some might think the images I have created are a hoax. They might believe, incorrectly, I created them using some operations beyond scanning and cropping. |